
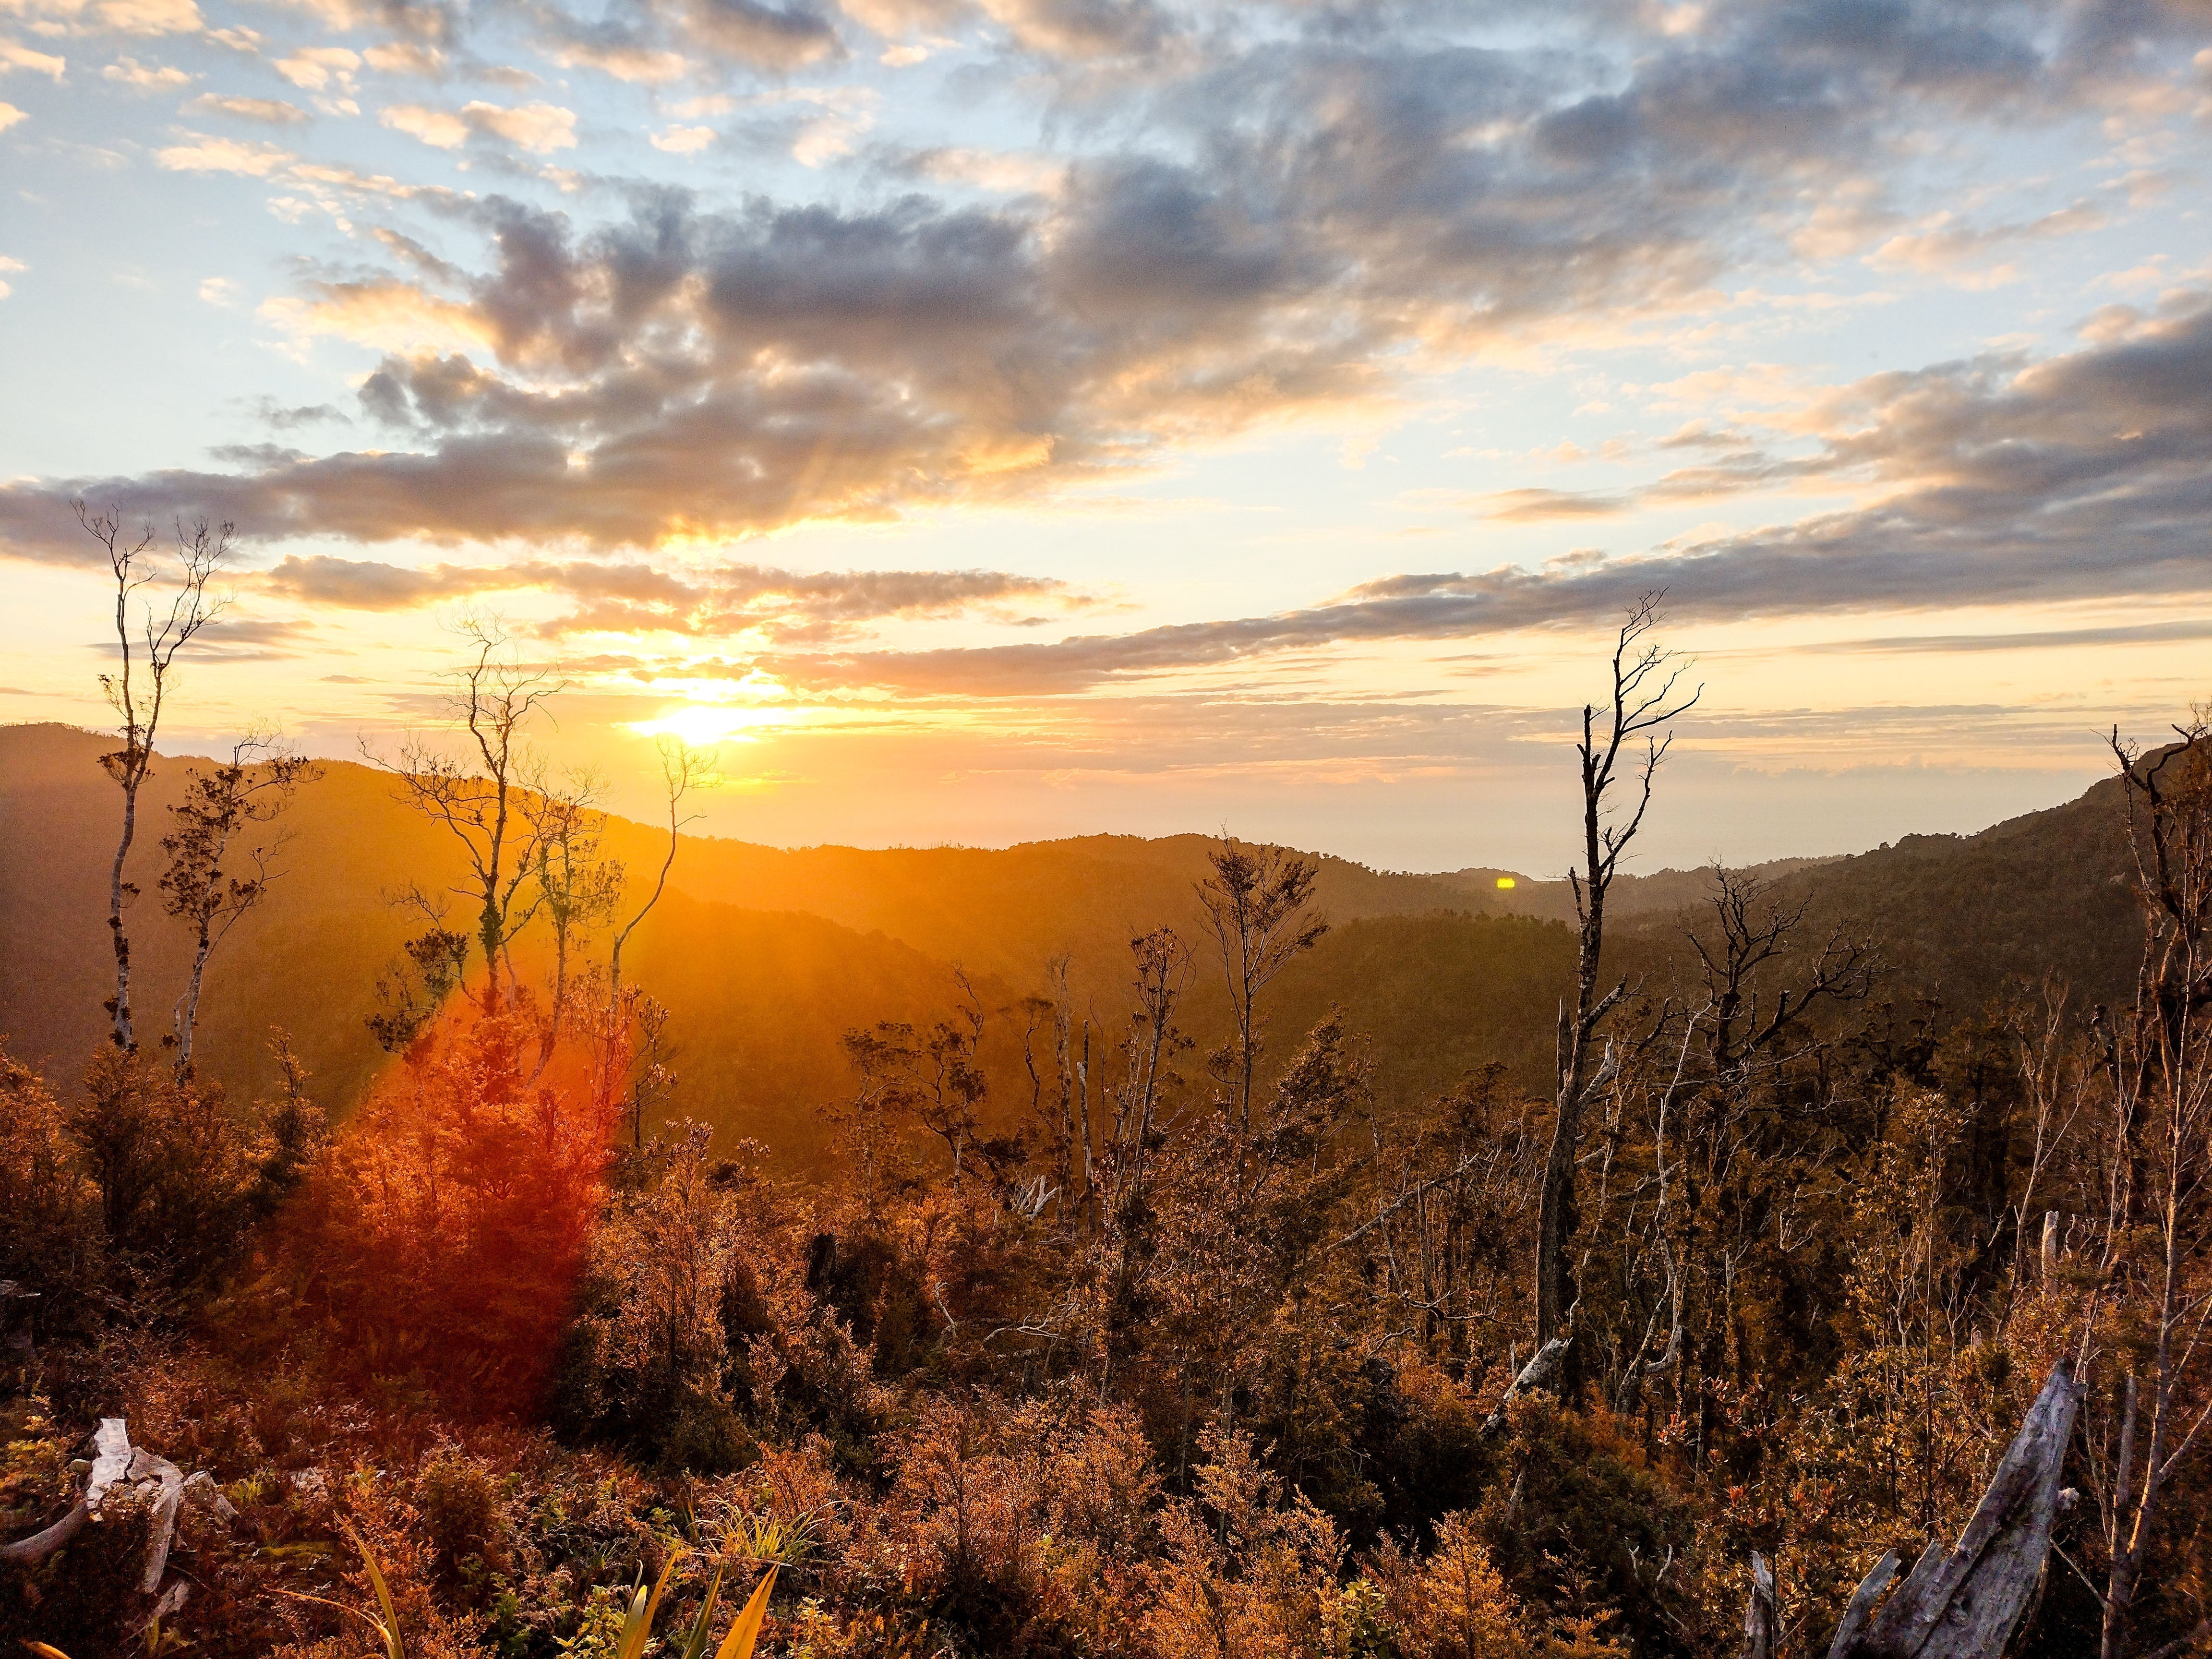
The Paparoa Track is a standout when it comes to New Zealand’s Great Walks. Crossing the rugged Paparoa Range on the West Coast of the South Island, this 55km trail takes you through everything from lush, low-land podocarp forests and nīkau palms to dramatic alpine tops and limestone canyons. It’s also our first purpose-built track designed for both trampers and mountain bikers.
Beyond the spectacular scenery, the track carries a lot of heart. It serves as a living memorial to the 29 miners lost in the Pike River disaster, with the Pike29 Memorial Track branching off the main ridge to connect to the former mine site.
Whether you're a seasoned tramper or tackling your first multi-day mission, the West Coast environment demands respect and the right gear. Here is a practical breakdown of how to plan your trip, along with some field-tested recommendations to help you keep your pack light and your nights comfortable.

The Essentials at a Glance
-
Distance: 55.1 km (Point-to-point)
-
Time: 3 days / 2 nights is the sweet spot for walkers.
-
Difficulty: Intermediate. The track itself is well-formed and smoothly graded, but don't underestimate the steady climbing—you’ll be tackling over 1,000 metres of elevation.
-
Season: Open year-round, though the prime weather window is October to April.
-
Accommodation: Three Department of Conservation (DOC) huts: Ces Clark, Moonlight Tops, and Pororari. Note: There is no camping allowed within 500 metres of the track, so booking a hut bed is your only option.
Key Logistics: Sorting the Homework
Because it’s a Great Walk, you can’t just turn up and hope for the best. A bit of forward planning saves a lot of headaches later.
1. Booking the Huts
Hut bookings open around May for the upcoming season and sell out fast. You’ll need to book each night individually through the DOC online portal. If you miss out, keep an eye on the site—cancellations do pop up.
2. Transport & Shuttles
The track starts and finishes in completely different places. You’ll typically start inland at the Smoke-ho car park near Blackball (just out of Greymouth) and finish on the coast at the Pororari River car park in Punakaiki. Because the two ends are about a 1.5-hour drive apart, you’ll need to arrange a local shuttle or a vehicle relocation before you set off.
3. The West Coast Factor
The coast is famous for its rainfall, and the weather can flip on a dime. The section between Ces Clark Hut and Moonlight Tops Hut is completely exposed along the alpine tops. If a southerly blow comes through, you'll want good wind and rain protection in your pack.

The Standard 3-Day Walk Itinerary
-
Day 1: Smoke-ho Car Park to Moonlight Tops Hut (20 km | 7–8 hours) You start by following the historic Croesus Track, climbing steadily through beech forest. Once you clear the treeline past Ces Clark Hut, you’re out on the open tops of the Paparoa Range. On a clear day, the 360-degree views out to the Tasman Sea and down to Aoraki/Mt Cook are hard to beat.
-
Day 2: Moonlight Tops Hut to Pororari Hut (19.1 km | 5–7 hours) This is the big scenery day. You’ll walk along the edge of massive limestone escarpments and look down into deep river canyons before descending back into the bush toward the beautifully positioned Pororari Hut.
-
Day 3: Pororari Hut to Pororari River Car Park (16 km | 4–5 hours) A steady, gentle downhill cruise following the Pororari River. You’ll weave through dramatic limestone gorges and dense groves of native nīkau palms, finishing right by the beach at Punakaiki.
Gear Up: Practical Essentials for the Coast
Since you’re staying in Great Walk huts, you don’t need to carry a tent or a sleeping mat (DOC provides thick foam mattresses and gas cooktops during the main season). That leaves plenty of room to focus on the essentials: keeping your kit dry, your layers warm, and your pack comfortable.

1. Keeping Your Kit Dry
Pack covers are great, but the West Coast rain has a knack for finding its way into a backpack during a proper downpour. Obviously a wet sleeping bag makes for a miserable night.
-
The Gear: Sea To Summit Lightweight Dry Bags. These 70D nylon bags use a simple roll-and-lock closure that creates a proper watertight seal. Use a 8 or 13L bag for your dry clothes and electronics, and a larger 20L bag to protect your sleeping bag. For the outside of your bag, a solid Lowe Alpine or Osprey Pack Raincover adds that crucial first line of defense.
2. A Comfortable Pack
Trudging 55 kilometres with a pack that digs into your shoulders ruins the fun pretty quickly. You want a harness system that transfers the load down to your hips.
-
The Gear: A technical multi-day pack like the Rab Hyperon 65L strikes the right balance. It offers plenty of room for your food and clothing layers without feeling like a giant, clumsy canvas sack on the technical or rocky parts of the track. If you prefer to run a smaller pack carrying the minimum clothing and supplies, the Rab Exion 38L is one of our favourite low-mid size packs.

3. Sleeping Bags & Hut Comfort
The huts are great, but the alpine tops can get plenty chilly at night, even in the middle of summer.
-
The Gear: If you want premium warmth for minimal weight, a Rab Down Sleeping Bag (like the Ascent or Alpine series) packs down incredibly small and keeps the chill at bay.
-
The Comfort Extra: Instead of bunched-up fleece jackets that slide away in the middle of the night, toss in the Intents AirPack Inflatable Pillow. At just 86g, it's a tiny addition that makes a massive difference to your sleep.
4. Trailside Brews & Cooking
While the main huts have gas stoves, carrying a tiny backup burner is a game-changer for boiling water during a windy lunch stop on the ridge. We all know what a morale booster a hot coffee can be at the opportune time!
-
The Gear: The Optimus Crux or Crux Lite camping stoves weigh under 85g and fold down so small they nest right under the base of your gas canister. Pair one with an Optimus Sparky Piezo Ignitor so you aren't scrambling for damp matches when you want a hot cuppa.
5. Hiking Poles
Although some people can be hesitant to use hiking poles for the first time, once you have used ultralight hiking poles like the Orson Pacer XT on an adventure, you realise the significant benefits they offer on a long hike, especially when there is significant elevation change. Using 1 or 2 poles gives great stabilisation descending hills and will reduce leg fatigue over the course of the hike.
6. The Emergency Fly (Just in Case)
You aren't allowed to camp on the track, but experienced trampers know an ultralight fly or tarp is cheap insurance. If someone tweaks an ankle on the exposed tops or you get caught in a sudden deluge, a tarp lets you rig up a quick shelter using your trekking poles.
-
The Gear: The Orson Ultralight Silnylon Hex Tarp and Orson Shadow Tarp are feather-light and pack down to about the size of a water bottle. Throw in a few Aluminium Y Stakes and Orson Ultralight Guy Ropes, and you’ve got a lightweight safety net that takes up next to no space in your pack.


Before You Head Off
Before you hit the road for Blackball, make sure you cover the safety basics:
-
Check the Alerts: Take a look at the DOC website for any recent track alerts or weather warnings for Paparoa National Park.
-
Take a PLB: Cell coverage is non-existent for long stretches of the range. Carry a Personal Locator Beacon.
-
Share Your Plans: Log your trip on the Plan My Walk app or leave your dates and emergency contact details with a reliable mate.
The Paparoa Track is an incredible trip, provided you've got the gear to match the environment. Take a look at our full range of equipment to get your kit sorted, and we'll see you out there. Happy tramping!