I recently got my hands on the Hopper Pro 2 from Orson Outdoors, and I couldn’t wait to put it through its paces. Before diving into the hike, a bit about Watersprite Lakes: these stunning alpine lakes are tucked high in the Coast Mountains of British Columbia, surrounded by rugged peaks and lush alpine meadows.

Words & images by Lenka Skořepová | @lenda_skorepova
Fed by glacial streams, the lakes have a striking turquoise-blue color and are a favorite spot for backcountry hikers looking for scenic views and relatively secluded campsites. The area is part of a delicate alpine ecosystem, making it a perfect place to enjoy nature while practicing Leave No Trace principles. Being a lightweight, two-person tent, I wanted to see how the Hopper Pro 2 would handle a proper backcountry trip. A two-day hike to Watersprite Lakes seemed like the perfect test.

Getting To The Trailhead
Getting to Watersprite Lakes isn’t exactly a walk in the park. From Squamish,BC it takes about 1.5 hours to reach the trailhead, and the road is rough. You’ll definitely want a high-clearance 4x4 to handle the rocky sections, and even then, it’s slow going. Parking is extremely limited at the trailhead, so arriving early is key if you want a spot. It’s not the most accessible start, but once you’re on the trail, all the effort getting there is more than worth it.

Hitting The Trail
The hike itself is moderate but rewarding. The trail to Watersprite Lakes is about 20 km (round trip) with roughly 600 meters of elevation gain, winding through alpine meadows, past small streams, and eventually open up to stunning views of the Watersprite Lakes nestled among the peaks. The Hopper Pro 2’s lightweight design didn’t weigh me down, and I honestly forgot I was carrying it most of the way. It’s always a bonus when you get a tent that feels like it’s barely there but still keeps you comfortable at night.

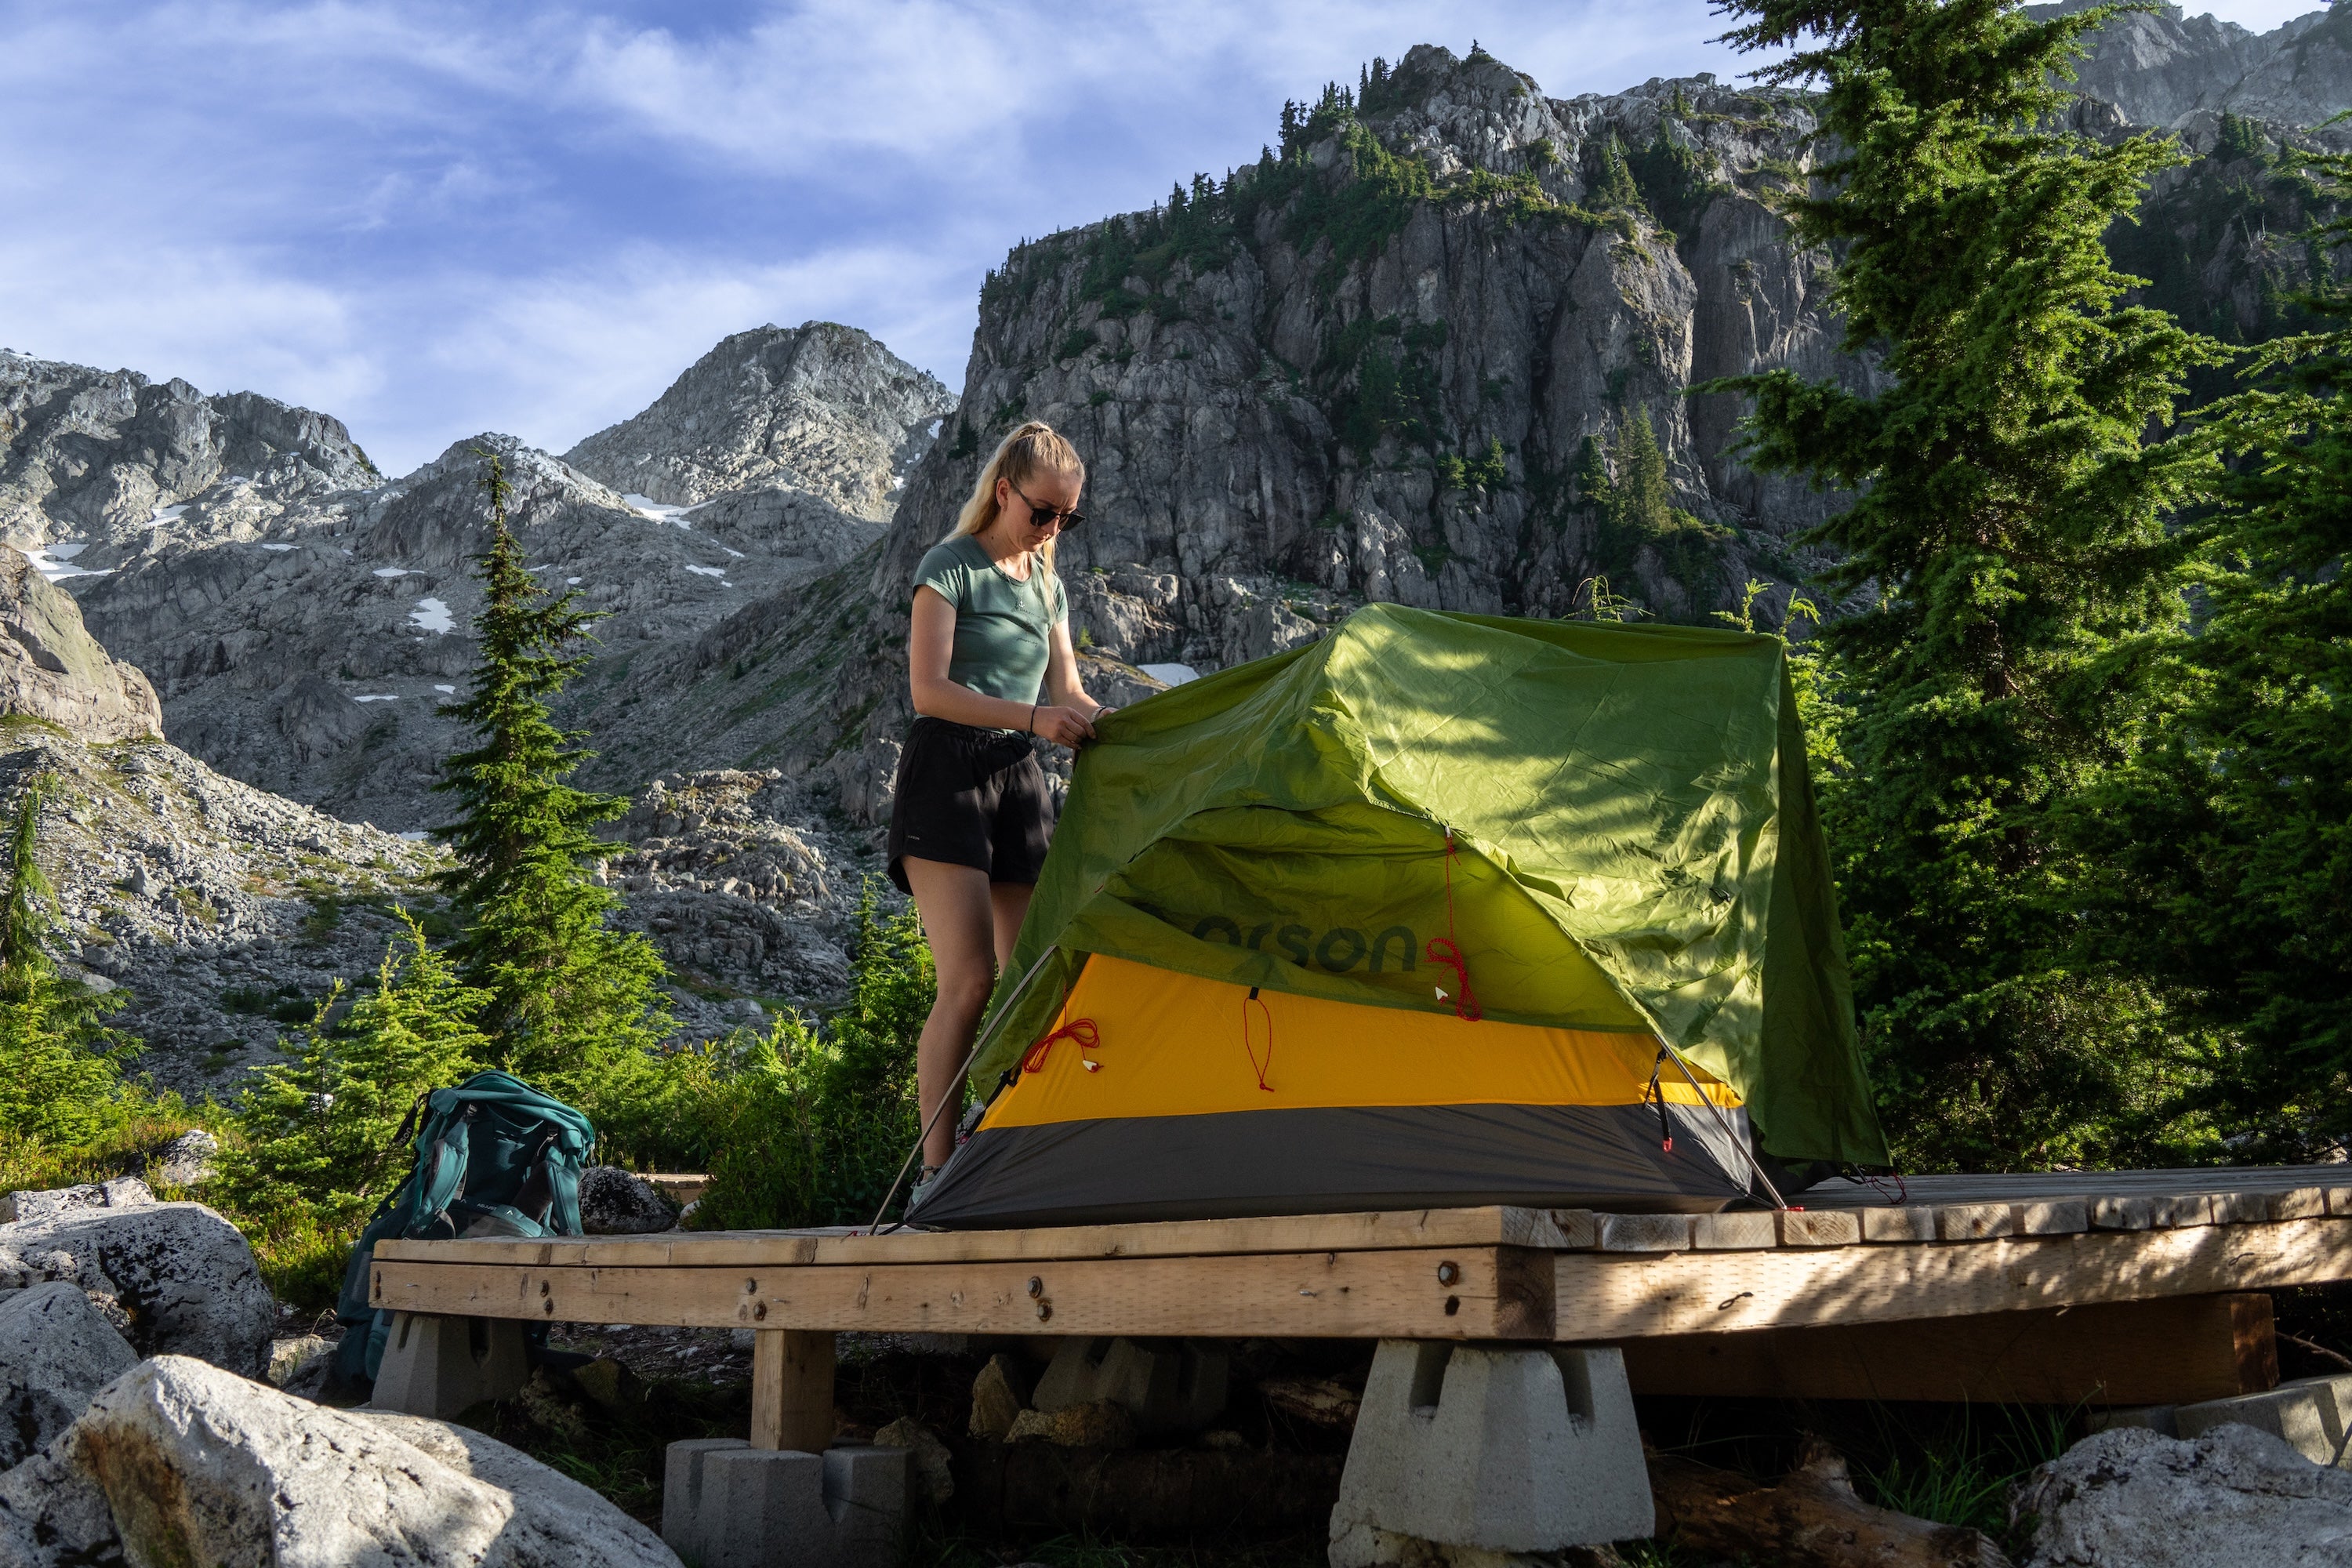
Camping at Watersprite Lakes
Once you reach the lakes, camping options are well-organized but in high demand. Reservations are required well in advance, especially during peak season, and there are only 10 tent pads and 10 sites. The cost is $20 per night per site.


The campground features a mix of wooden tent pads, which we used for a super comfortable setup, and traditional gravel spots a bit further from the lakes.
These pads make pitching a tent much easier and keep you off wet or uneven ground. Even with the limited spots, camping here is a treat thanks to the stunning lakeside views, so plan ahead and book early if you want a prime location.

Setting Up Camp
Setting up the Hopper Pro 2 was quick and painless. The interior feels surprisingly roomy for two, with enough space for packs and gear without feeling cramped. Ventilation worked really well, keeping condensation to a minimum. The quality zippers and solid fly gave me confidence that the tent can handle more challenging weather if needed.

We did this hike on August 10th, right as the Perseid meteor shower was approaching, and it was sweltering—around 35°C during the day. That made it extra nice to take a quick dip in the glacier-fed lake to cool off.


I also appreciated a small but thoughtful feature: at night, when I was walking around the tent with my camera, the reflective elements on the zippers and guylines lit up under my headlamp, so I didn’t trip over any of the lines. It’s a small detail, but it made moving around camp much easier and safer.

Final Thoughts
The Hopper Pro 2 is a solid pick for anyone looking for a lightweight, reliable, and easy-to-use backcountry tent. Whether you’re planning short overnight trips or multi-day hikes in the mountains, it’s easy to carry, fast to set up, and comfortable enough to enjoy a good night’s sleep. For rougher terrain, alpine lakes, or longer hikes, it’s the perfect balance of portability and durability. And honestly, the peace of mind knowing your tent can handle rain, wind, and uneven ground? Priceless.


Words & images by Lenka Skořepová | @lenda_skorepova